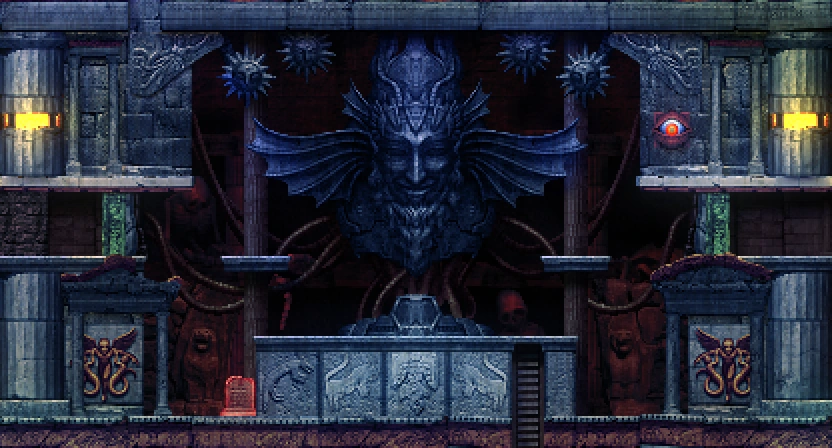
Heaven's Labyrinth (Japanese: 天者迷宮"Tensha Meikyū" / lit. "Labyrinth of Heavenly Ones") is a midgame area of the ruins. The Olympians, a tribe of the 3rd Children, are sealed here.
Flood the room at (C-1) by rotating the rooms to make your way to (B-1). Place a weight on the dais, then duck and walk left through the wall under the gate. Push the hidden block halfway between the ground and wall without letting it fall. Then, push against the upper wall to reveal another block, and let it fall on top of the other block, allowing you to push the gate to the Axe.
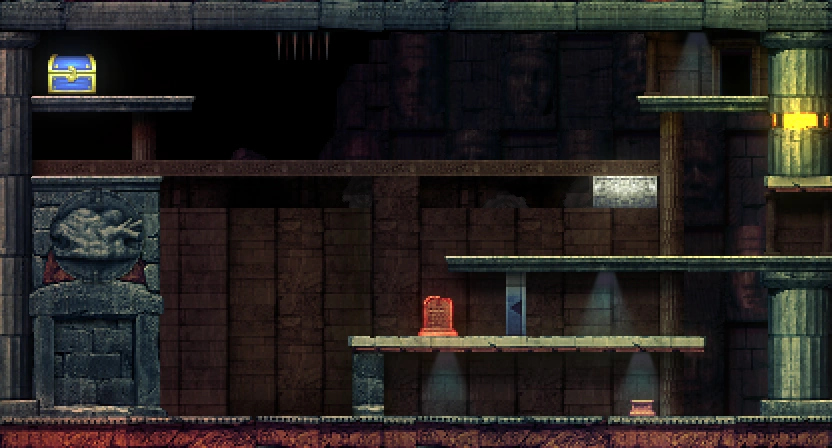
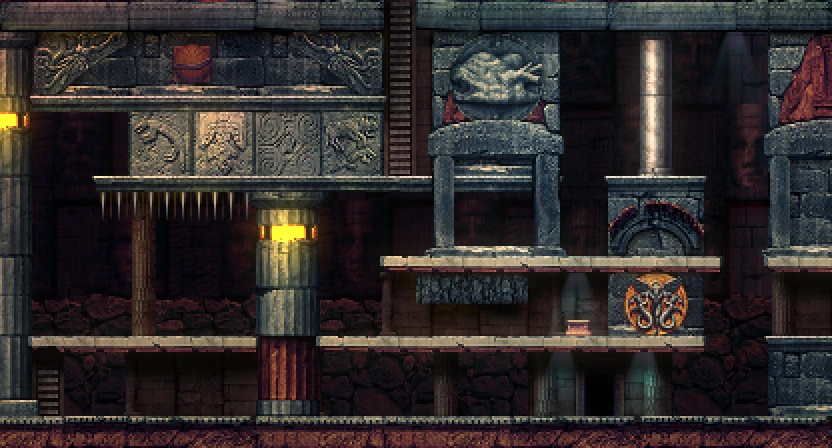
Climbing up a ladder from (A-3), place a weight on the dais at the bottom of the room to get the large platform on the left to start moving. Then, use the Feather to double-jump into the left side of the platform, and place a weight on the dais inside of the platform.
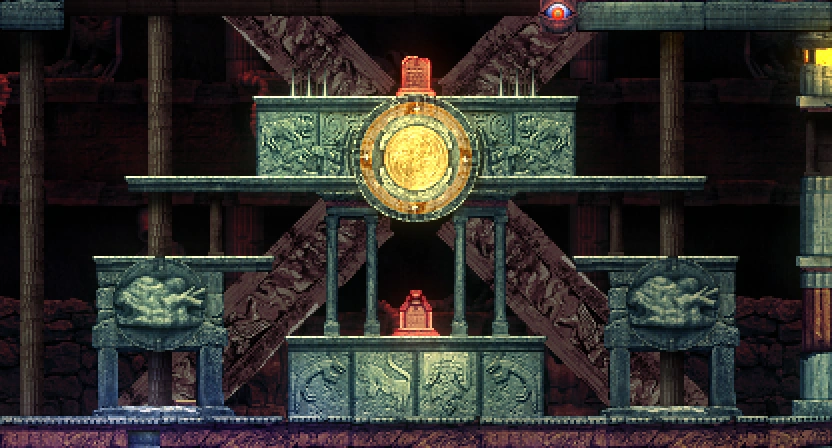
Place the Ancient Battery in the vase slot at (A-5). Then, go to Takamagahara Shrine (F-3) and, in front of the "Where is this?" tablet, use the Djed Pillar to chant the following 5 mantras simultaneously: Himinn, Iorð, Eldr, Vindr, Sær. Then, fall into the next room to reach the chest.
Puzzles[ | ]
Get to the Holy Grail Tablet[ | ]
Location: (C-5)
Jump left into the wall right next to the upper ladder.
Holy Grail Tablet Shortcut[ | ]
Location: (C-3)
Place a weight on the dais hidden behind the 2nd pillar from the left, near the bottom-left of the room. This will create a ladder down to (C-4);
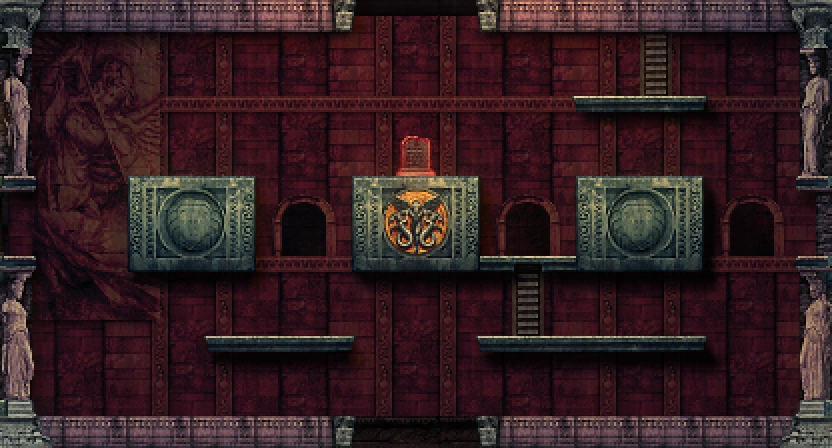
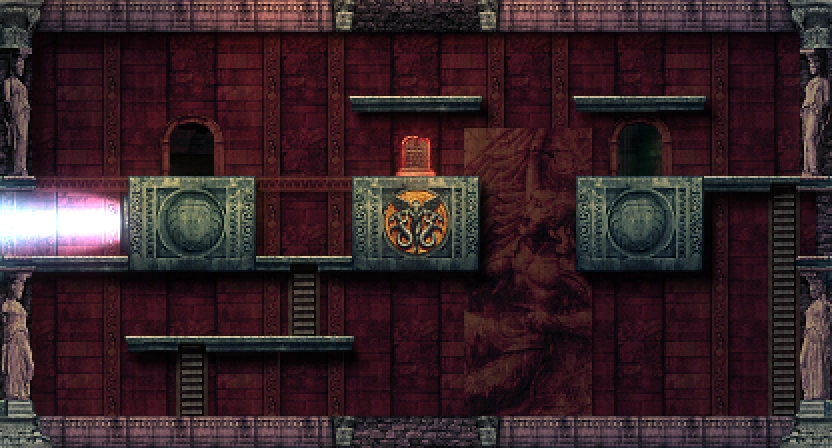
Rotating the rooms doing Heaven's Response, make your way to both sides of (C-4) and place a weight on the two daises. Rotate the room again and examine the glowing hexagon at the bottom of the statue in the background. Read both options.
Raising the Pillars[ | ]
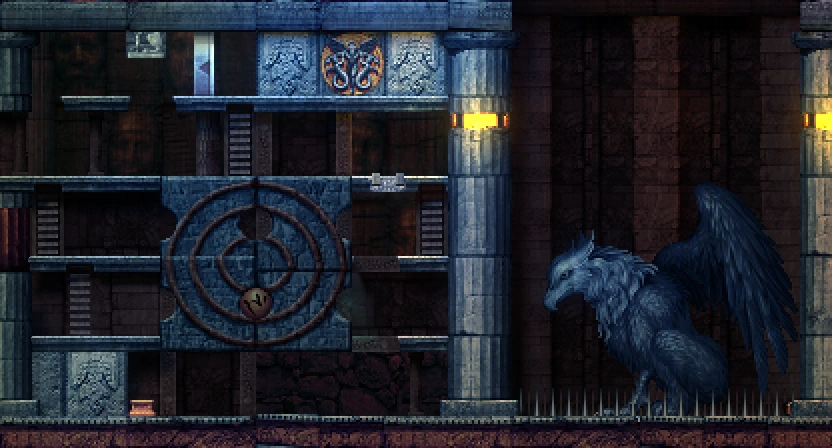
Location: (E-3)
Equip Gale Fabula before entering the room from the top and run to the other side before the Griffin Statue falls and blocks your path, then move to the bottom and put a weight on the dais to move the ladder in the middle and climb back up. Push the Griffin statue so it's in-between the ladder and the switch (give enough room to climb the ladder or it might crush you for some reason), then break the Life Seal.
The Four Pillars of Typhon[ | ]
Location: (D-1)
Defeat the four sub-bosses Arachne, Glasya-Labolas, Scylla and Griffin to unlock the gate to the Hall of Malice in this room.
A Kosugi tent will also appear at the top of this room at the same time.
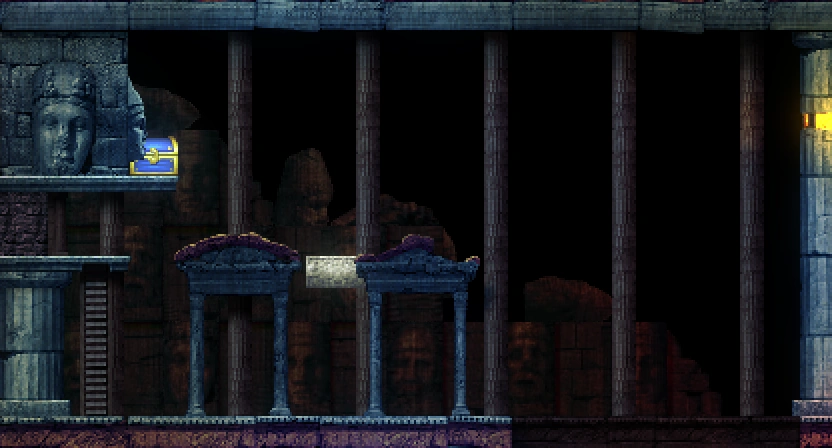
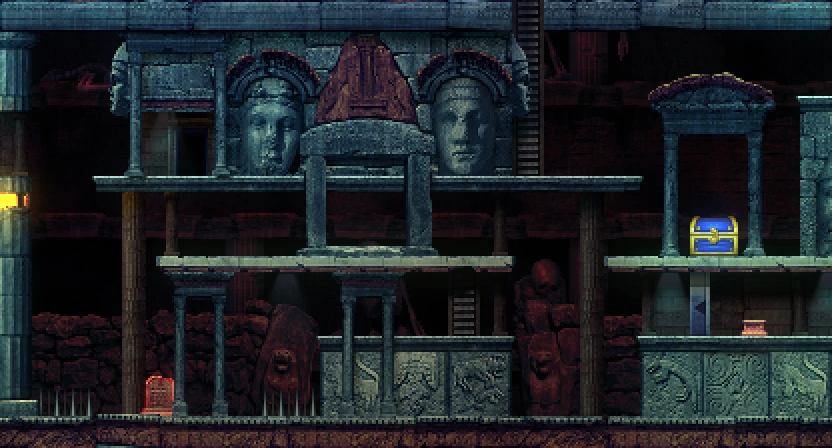
Location: (A-3)- Coming from (B-3), cling onto the pillar using the Grapple Claw and flip to the other side. Make your way to the dead end at the top of the ladder, whip the wall to the right and the shop will be unlocked.
What's important is what's inside.
Try sitting.
Try placing your hand upon it.
B-11st Child: Anunnaki
Dvapara Yuga, the age of copper.
When disaster was wrought from virtue and sin in balance.
A-23rd Child: Olympian
Within the belly of the crawling infernal fiend.
B-23rd Child: Olympian
The twins protect an ancient key.
The cog that turns the great mechanism.
The twins protect a beast's jaw.
C-36th Child: Alfr
This is Heaven's Labyrinth.
The wake of the infernal fiend that lusts for the Mother's power.
C-33rd Child: Olympian
Those who turn the celestial bodies thrice shall see hell.
C-43rd Child: Olympian
Turning once will lead to the priestess.
Turning thrice will lead to the Griffin.
D-43rd Child: Olympian
Typhon will awaken by the two lights.
The lights will be cast upon two walls.
The light-obstructing walls will accept the light, and Typhon shall awaken.
A-53rd Child: Olympian
A vase that stocks the power of storms.
Stored in the Buried Fortress.
C-53rd Child: Olympian
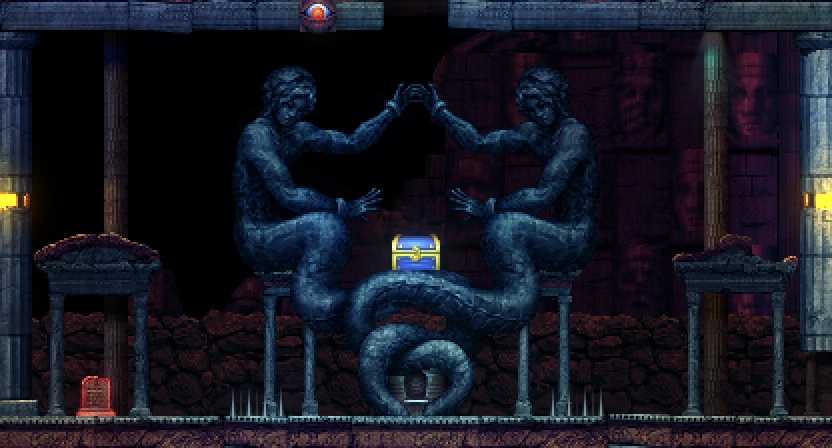
Proceed down the path where backs face each other.
D-53rd Child: Olympian
Typhon's slumber is ongoing.
So it has been since the gate was sealed by the unruly four pillars.
The four pillars of Arachne, Scylla, Griffin, and Glasya-Labolas.
E-53rd Child: Olympian
The Gigas went down the path of imitating Mother's power.
They were sealed in these lands.
Their ensealment is entrusted entirely to Typhon.
Map[ | ]
Note: The War Mural rooms at B-2, B-4, D-2 and D-4 are shown below in their default positions.