| Gate of Guidance | |
|---|---|
| Japanese | 導きの門 (Mayoi no Mon) |
| |
| Location | La-Mulana |
| BGM |
Previous Adventure |
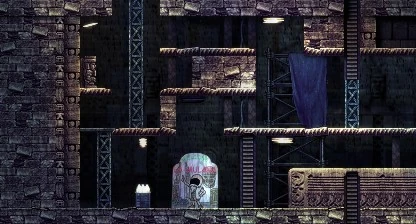
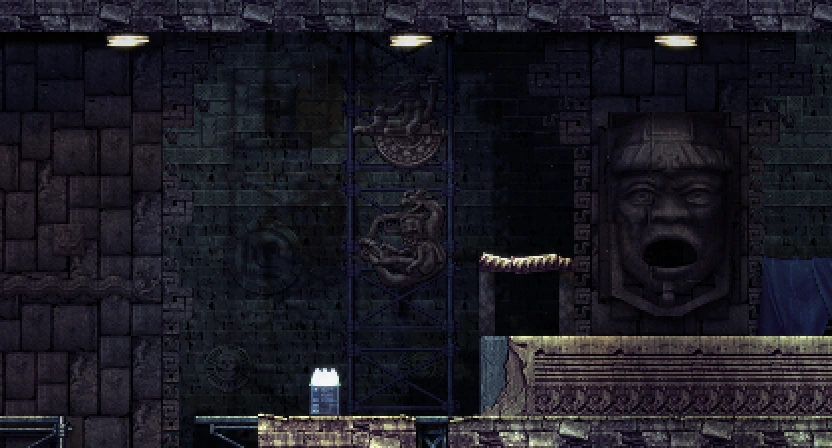
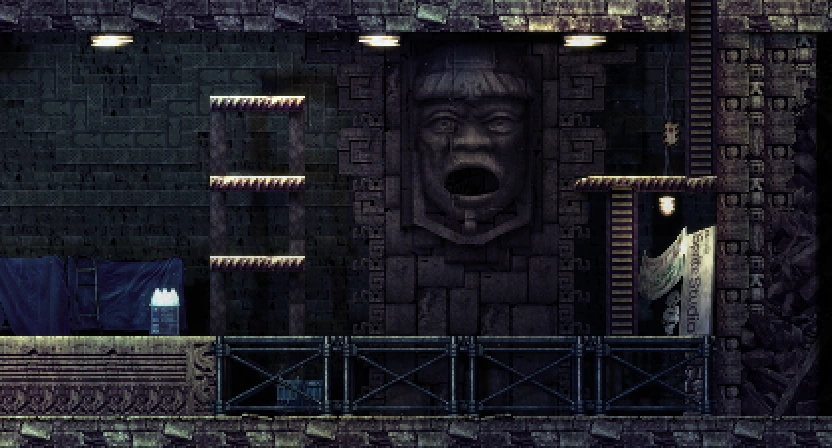
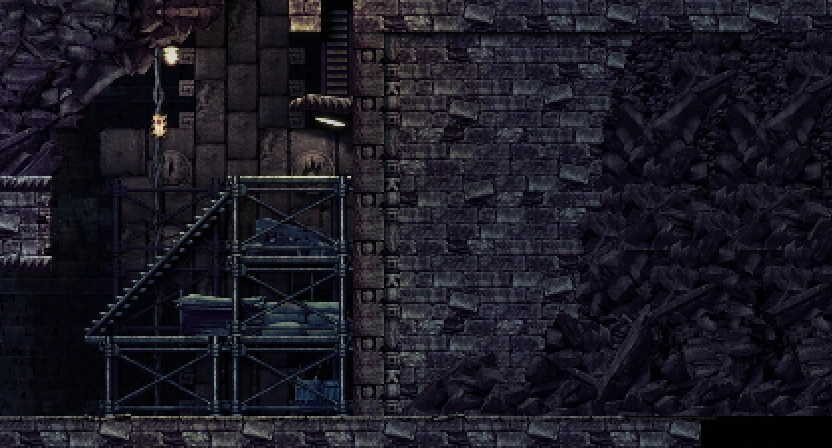
The Gate of Guidance is the first area of the La-Mulana Ruins which the player will enter from the Village of Departure. After the events of the first game, the ruins have become inactive and are in a state of disrepair, with ongoing reconstruction efforts being led by Samaranta. Having been turned into a tourist attraction by Elder Xelpud, new tablets detailing the history of the ruins can be found, with little in the way of danger besides bats. Portions of this and other connected areas in the ruins are blocked off, making the La-Mulana ruins a more linear experience akin to a tutorial section.
Gates
| Room | Type | Destination |
|---|---|---|
| Door to Eden (A-3) | Doorway | Gate of Illusion (A-1) |
| Door to Eden (A-3) | Elevator | Mausoleum of the Giants (A-5) - After riding up. |
| (A-6) | Exit (South) | Mausoleum of the Giants (A-1) |
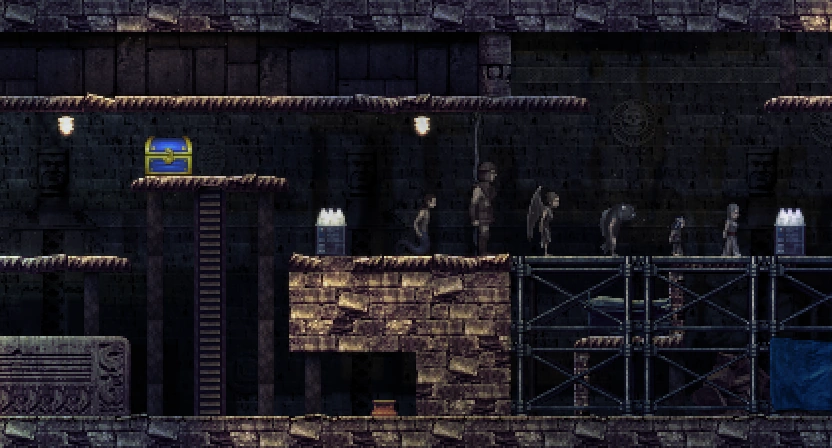
Treasures
Shell Horn
- Location: Heavenly Temple of the Cross (D-2)
- Place a weight on the dais to unlock the chest.
Holy Grail
- Location: Pit of the Holy Grail (B-4)
- Jump up from the platform below the chest and hit it from the bottom with your whip to open it.
Bronze Mirror
- Location: Pit of the Holy Grail (B-4)
- The Bronze Mirror sits partially-hidden on a ledge in the upper-right portion of the room. You can reach it either by jumping across with the Gale Fibula or using the Feather.
Features
Traps
- Heavenly Corridor (B-3): Walking onto the left end of the metal platform overhanging the pit will cause it to permanently break. The gap can still be cleared, but harder to do in a single jump.
Glossary ROMs
Alsedana
- Location: Room of Courage (E-2)
- Sitting on the floor in the upper-right corner of the room.
Lemeza Kosugi
- Location: Heavenly Temple of the Cross (D-2)
- From the upper-right part of (C-2), jump straight up the ladder (without grabbing on to it) and then jump again through the fake wall on the right. Requires the Feather to reach.
- Note: This location marks the original entrance to Hell Temple in the first La-Mulana.
Samaranta
- Location: Door to Eden (A-3)
- Can be seen among the rubble in the lower-left pathway.
Shops
Hiner
- Location: (B-4)
- Note: Hiner's shop will not be open for business until after you defeat Nidhogg.
| Weight x5 | 10 | |
| Codices | 100 | |
| Ankh Jewel | 50 |
Map
| A | B | C | D | E | |
|---|---|---|---|---|---|
| 1 | 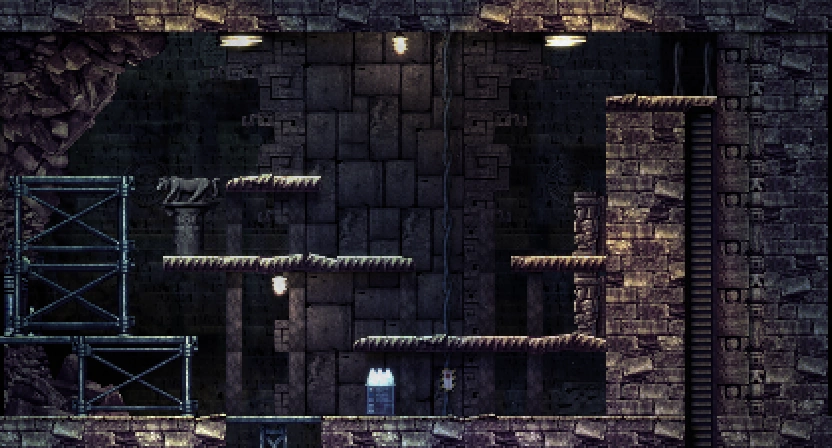
| ||||
| 2 | 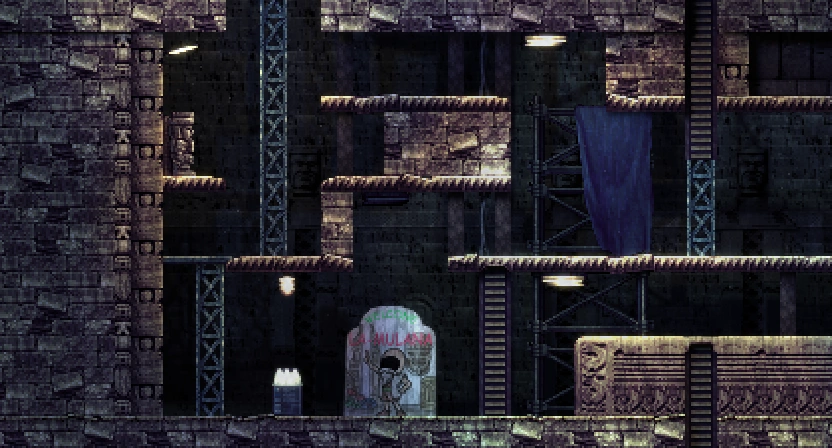
|
|

| ||
| 3 | 
|
|
| ||
| 4 | 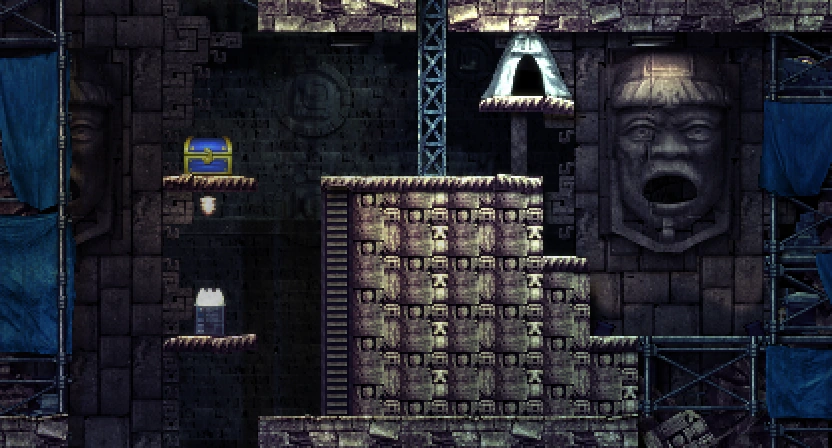
| ||||
| 5 | 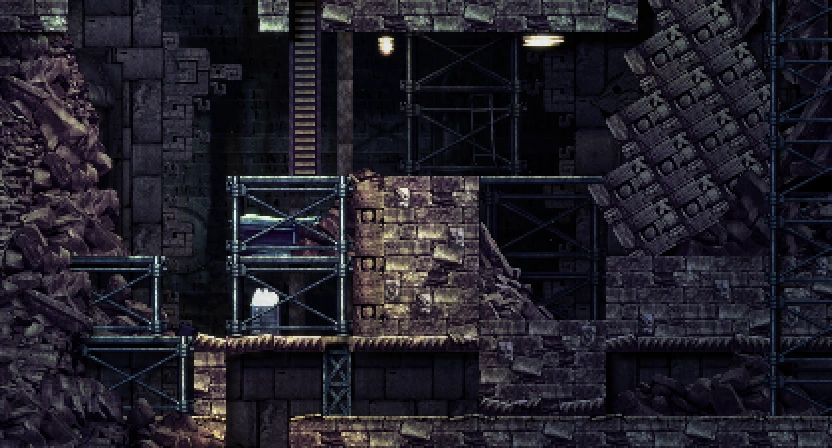
| ||||
| 6 | 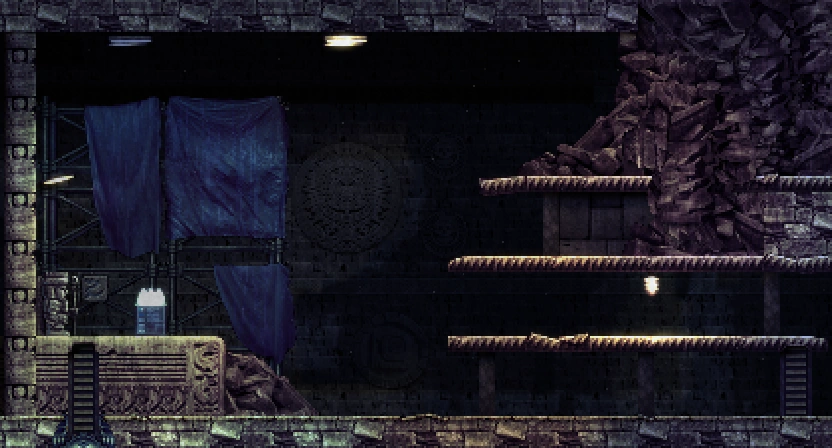
|
|
Field Navigation
Village of Departure • Roots of Yggdrasil • Annwfn • Immortal Battlefield • Icefire Treetop • Divine Fortress • Shrine of the Frost Giants • Gate of the Dead • Takamagahara Shrine • Heaven's Labyrinth