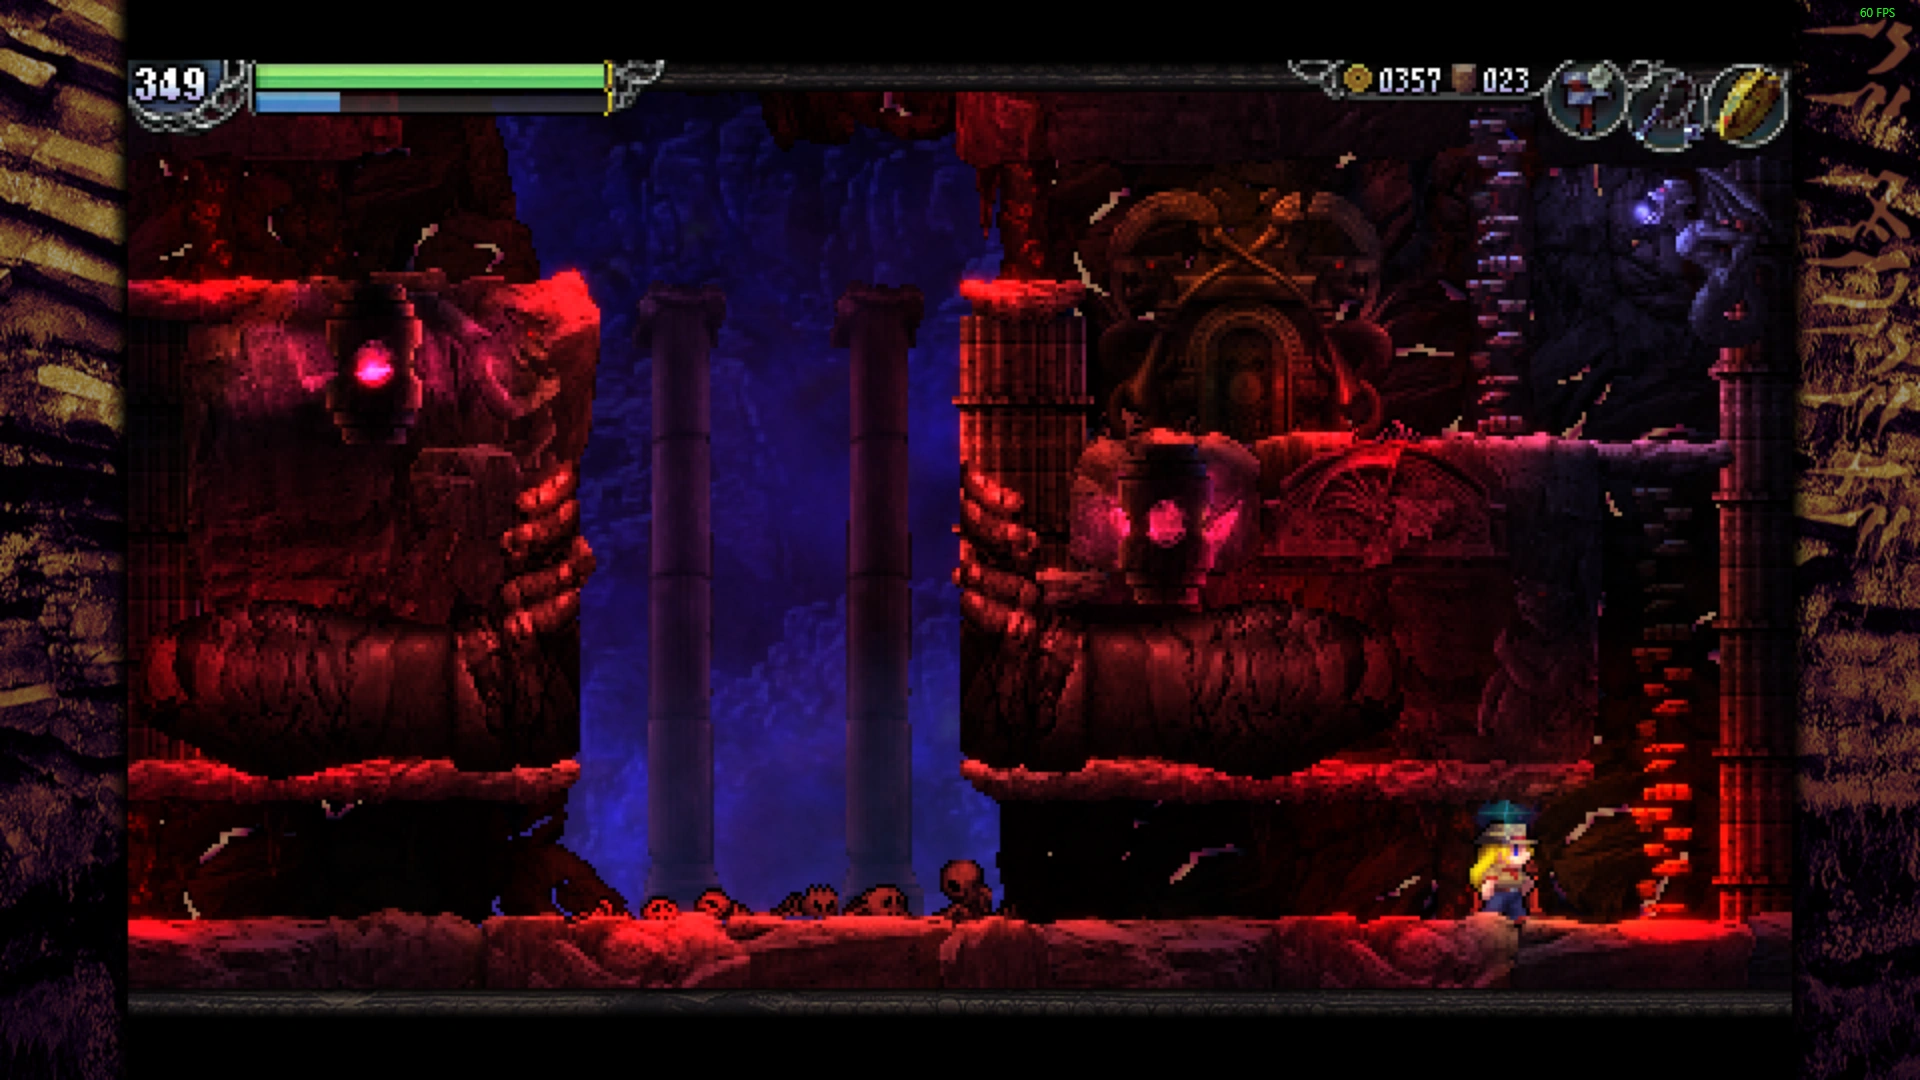
Eternal Prison - Doom
The Eternal Prison (Japanese: 永久牢獄, "Eikyū Rougoku" / lit. "Eternal Prison"), or The Underworld, is a sealed-off location of the Eg-Lana ruins. It is broken into two sections, Doom (滅 "Metsu" / lit. "Ruin") and Gloom (陰 "In" / lit. "Shade"). According to Modgud, each gate passed through closes, making it difficult to return when navigating this place. If you find yourself truly locked between the gates, you will have no recourse but to give up.
Doom[ | ]
- Entrances and exits:
- C-4: Corridor of Blood (Any entry); unseal the entrance. One-way (to here) only.
- Grail Point: (B-3)
- Guardian: Hel (A-3)
- Sub-Bosses: Ajisukitakahikone (C-3, see Ajisukitakahikone), Hraesvelgr (C-5)
Treasures[ | ]
Map[ | ]
La-Mulana 2[ | ]
- Location: (D-4)
- Use Mjolnir to zap the statue hidden at the top-left of the room.
Light Scythe[ | ]
- Location: (C-5)
- After finishing Anubis' Trials, enter the bottom door to talk to Osiris. Then, select the top option in the conversation.
Crystal Skull[ | ]
- Location: (A-4)
- Jump through the invisible wall at the top-left of the Corridor of Blood entrance (C-4). Jump over the hidden pits in (B-4) to get to (A-4), then jump into the left wall while falling down in (A-4). Finally, place a weight on the dais at the far left of that hidden wall.
Spaulder[ | ]
- Location: (C-2) - Bring Key Fairy Herja to this room and she'll reveal and unlock the chest.
Puzzles[ | ]
Clearing the path blocked off[ | ]
Getting to the E-4 Door[ | ]
- Location: (E-4)
- From the left to the right, push against the wall at the bottom-middle of the room.
Escape the Room at E-3[ | ]
- Location: (E-3)
- You can push the rock sitting at the bottom-left of the room to the right to jump out.
Anubis' Trials[ | ]
- Location: (E-5)
- First, talk to Anubis. Then, scan the 3 tablets below. You must do what all 3 of them ask you to do:
- Break one of the barrier emitters just above the hint tablets at (E-5) by striking it from below.
- Jump into the magma in (C-7) from high in (C-6). Might require you to kill the enemy in (C-7) first.
- Use the Djed Pillar with no mantras selected in front of the Yuga Wheel at (D-5).
- There is a known translation error regarding the tablet with this hint.
- First, talk to Anubis. Then, scan the 3 tablets below. You must do what all 3 of them ask you to do:
Waking up Hraesvelgr[ | ]
- Location: (C-5)
- See: this.
The Seven Gates of the Underworld[ | ]
- Location: The entire Eternal Prison
NPCs[ | ]
Neti[ | ]
- Location: (D-4)
Anubis[ | ]
- Location: (E-5) - Break the top-right wall at (D-5) to get here. Will refuse to talk to you unless you have Maat's Feather.
Osiris[ | ]
- Location: (E-5)
- After finshing Anubis' Trials, enter the bottom door.
Glossary[ | ]
Ajisukitakahikone[ | ]
- Location: (C-3)
- Using the Bronze Mirror, wait for the eyes on any of the dragon doors to change green. Then, walk through the real Ajisukitakahikone and examine the door on the far-right, the exact opposite of where this glossary entry visually appears to be.
Hraesvelgr[ | ]
- Location: (C-4)
- From below, whip the wall right under the Corridor of Blood door. Then, jump to the glossary entry using the Feather. Watch out for the spikes on the ceiling!
Tablets[ | ]
Gloom[ | ]
This is the Eternal Prison.
A land where the souls of the dead gather. The prison of gloom.

— Holy Grail Tablet,
Eternal Prison - Gloom (D-4)
- Entrances and exits:
- D-2: Icefire Treetop (D-5), Requires 5 Guardians defeated.
- Sub-Bosses: Ratatoskr (A-5)
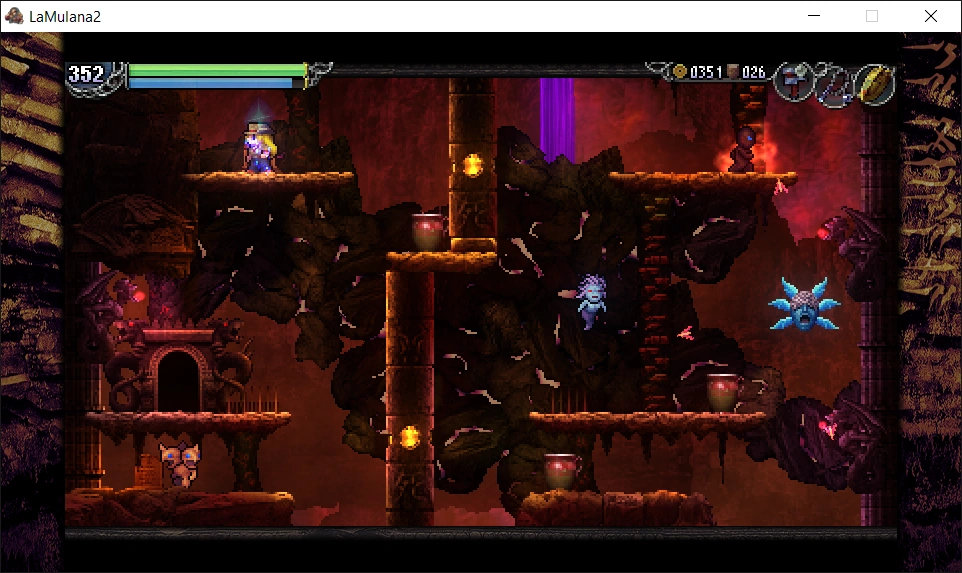

Eternal Prison - Gloom
Treasures[ | ]
Map[ | ]
- Location: (E-2)
- Climb up the ladder from (E-3), then break the Life Seal.
Ankh Jewel[ | ]
- Location: (A-5)
- Defeat Ratatoskr.
Bomb[ | ]
- Location: (C-6)
- Summon Herja the Key Fairy at (B-5), then take her with you to (C-6). Break the Life Seal that appears.
Móðir[ | ]
Puzzles[ | ]
Accessing C-5[ | ]
- Using Enga Musica, play track 27, Eden in front of Eurydice. Then, talk to her again and the path will open.
Waking Garm[ | ]
- Location: (B-5)
- Using the Djed Pillar, chant Iorð, Sól, and Eldr in front of the Bust of Mimir. As soon as you do, jump up to the platform on the right as quickly as possible!
Sakit's Grave[ | ]
- Location: (G-3)
- Talk to Hades at (B-5) about Sakit and he'll open the grave at (F-2). You will also need to have defeated Vidofnir. Then, at (F-2), climb into the left mound and chant the Máni Mantra to open the grave. At the far right, use the Giant's Flute, then use the Sacred Wine. Scan the tablet that appears nearby, and don't forget to grab Sakit's glossary entry that appears on the ground to the far left before you leave. Visit Mausoleum of the Giants (E-4) and chant the Sól Mantra while standing on the decapitated statue's arm. Finally, swallow the Dissonance using the Beherit.
- Somewhere along the way, a patch was released which changed the order of things a little; Sakit's glossary entry will now not appear until you've absorbed the Dissonance in Mausoleum of the Giants (E-4). Once you've done that, return to Eternal Prison Gloom (F-3) and the glossary entry should be on the ground.
- Talk to Hades at (B-5) about Sakit and he'll open the grave at (F-2). You will also need to have defeated Vidofnir. Then, at (F-2), climb into the left mound and chant the Máni Mantra to open the grave. At the far right, use the Giant's Flute, then use the Sacred Wine. Scan the tablet that appears nearby, and don't forget to grab Sakit's glossary entry that appears on the ground to the far left before you leave. Visit Mausoleum of the Giants (E-4) and chant the Sól Mantra while standing on the decapitated statue's arm. Finally, swallow the Dissonance using the Beherit.
The Seven Gates of the Underworld[ | ]
- Location: The entire Eternal Prison
Absorbing the Dissonance[ | ]
- Location: (A-3)
- Defeat Hel, then swallow the Dissonance using the Beherit.
Getting Beo Eg-Lana[ | ]
- Location: (C-7)
- Bring bombs and throw them at the top right corner of the bottom area, beneath Izanami's room. Then scan it for Beo Eg-Lana.
NPCs[ | ]
Izanami's Soul[ | ]
- Location: (C-7)
Ereshkigal[ | ]
- Location: (F-2)
Charon[ | ]
- Location: (D-3)
- For exactly 1G (Not even 2G will work), he will take you across the River Styx. Or halfway, at least. This is required to get to (D-4), where the Holy Grail Tablet for Gloom is.
- You can quickly get rid of all your gold by talking to Shennong in Ancient Chaos.
- For exactly 1G (Not even 2G will work), he will take you across the River Styx. Or halfway, at least. This is required to get to (D-4), where the Holy Grail Tablet for Gloom is.
Fairy Guild Corporal[ | ]
- Location: (D-6)
- You can buy Herja from him for 400 Gold.
Eurydice[ | ]
- Location: (D-5)
- See Accessing (C-5).
Hades[ | ]
- Location: (B-5)
Glossary[ | ]
Charon[ | ]
- Location: (D-3)
- Cross the River Styx, then jump at the statue at the far bottom-left of the room.
Hel[ | ]
- Location: (A-3)
- Head left from the top-left of (B-3). Examine the dead end to find this glossary entry.
Sakit[ | ]
- Location: (F-3)
- Listen to Sakit with the Giant's Flute, then give him the Sacred Wine, as per the Sakit's Grave puzzle. Walk back to the left of the same room and the glossary entry will now be on the ground.
Tablets[ | ]
| |||||||||||||||||||||||||||||||||||||||||||||||

