| Immortal Battlefield | |
|---|---|
| Japanese | 不滅戦場 (Fumetsu Senjō) |
| |
| Location | Eg-Lana (Trunk) |
| Races |
|
| BGM |
|
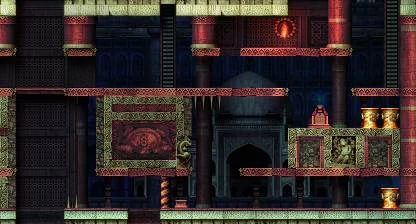
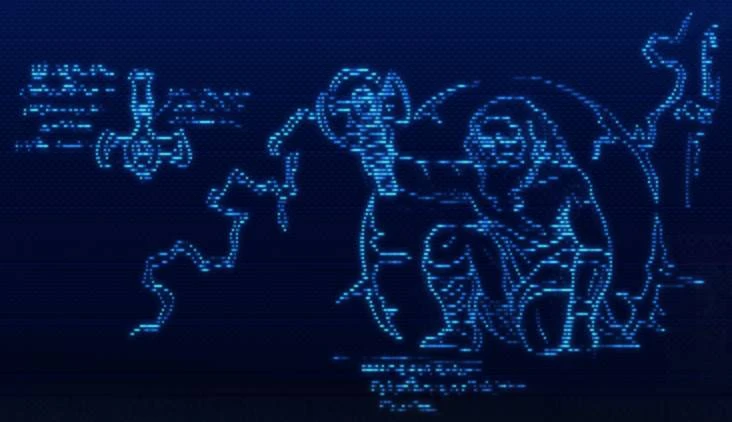
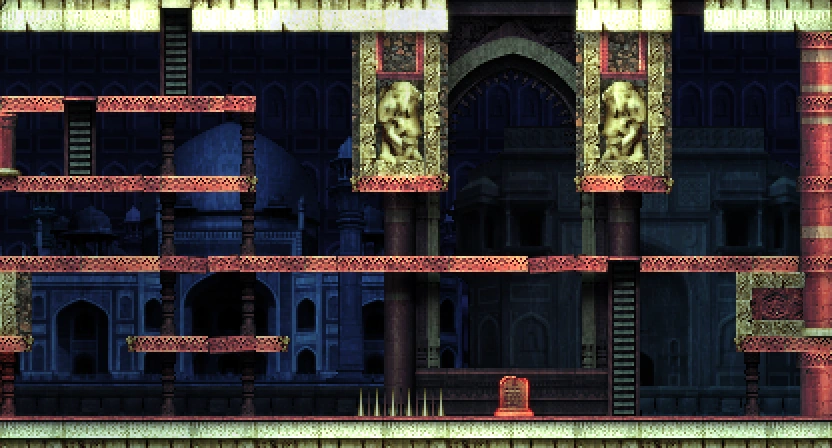
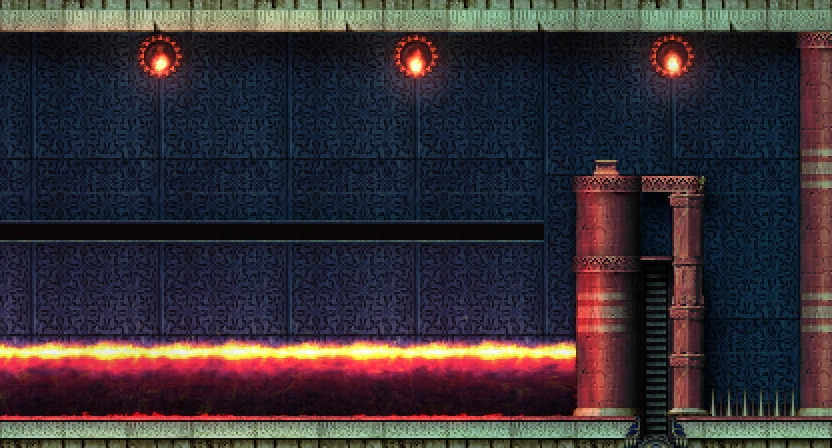
The Immortal Battlefield is the largest area in the Eg-Lana ruins at a total 47 rooms, acting as yet another major hub which players will frequently return to throughout their adventure. This area is home to the Lokapala, a race of the 6th Children who are actively battling for control of Eg-Lana.
Gates[ | ]
| Room | Type | Destination |
|---|---|---|
| (D-1) | Entrance only (North) | Annwfn (C-5) |
| (F-1) | Exit only (North) | Annwfn (E-5) |
| (H-2) | 2-Soul Gate | Gate of the Dead (C-4) |
| (D-3) | Special | Altar (A-1) |
| (F-3) | Special | Altar (C-1) |
| (D-4) | 9-Soul Gate | Hall of Malice (D-3) |
| (H-4) | Exit (East) | Cavern (A-1) |
| (A-6) | Yggdrasil Gate | Roots of Yggdrasil (G-1) |
| (B-7) | 3-Soul Gate | Takamagahara Shrine (D-1) |
| (D-7) | Exit (South) | Icefire Treetop (C-1) |
| (G-7) | Entrance only (South) | Icefire Treetop (F-1) |
- Note: The "Special" gates listed above require the Dinosaur Figure to enter.
Warps[ | ]
Holy Grail Tablet[ | ]
- Location: Pit of the Dead (G-3)
Black Grail Tablet[ | ]
- Location: Room of the Fallen (D-6)
- To reach this platform, enter (D-5) from the lower-right and break the wall, then fall through the fake floor.
Prayer Altar[ | ]
- Location: Time Altar (B-5)
Fairy Light[ | ]
- Location: Corridor of Wind (E-2)
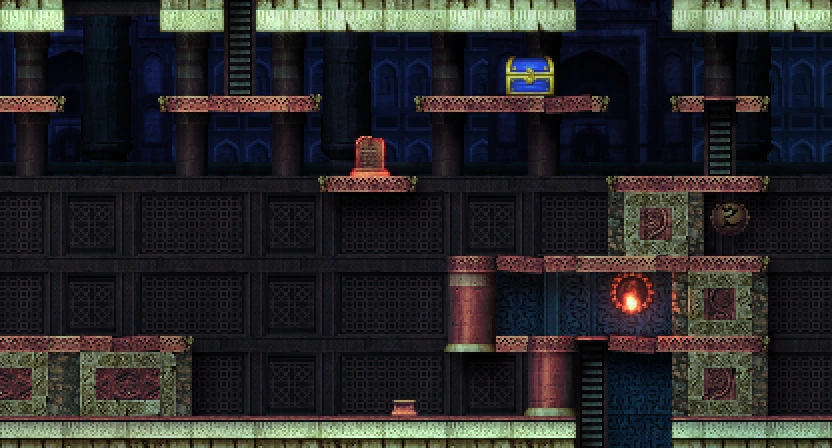
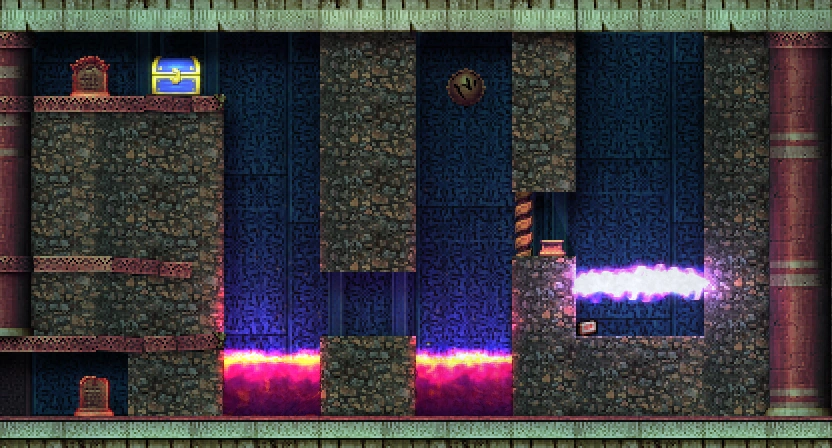
Treasures[ | ]
Map[ | ]
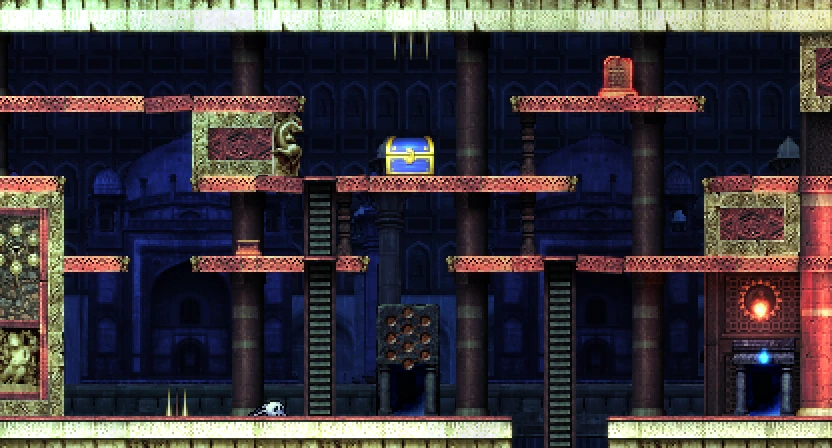
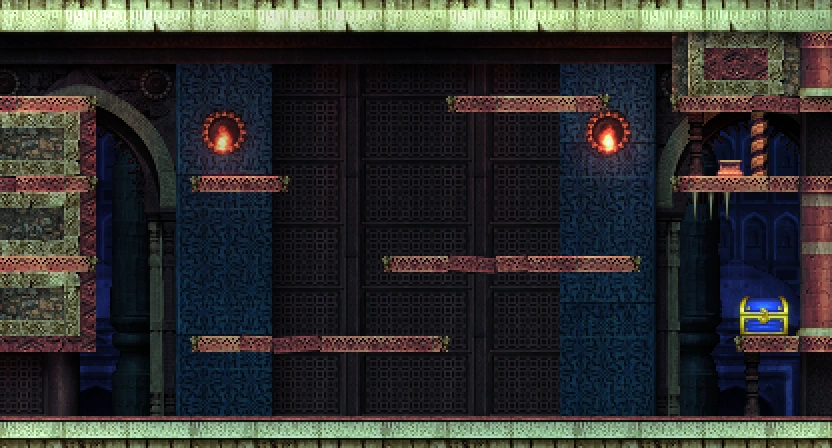
- Location: Corridor of Wind (F-2)
- Place a weight on the nearby dais to open the chest.
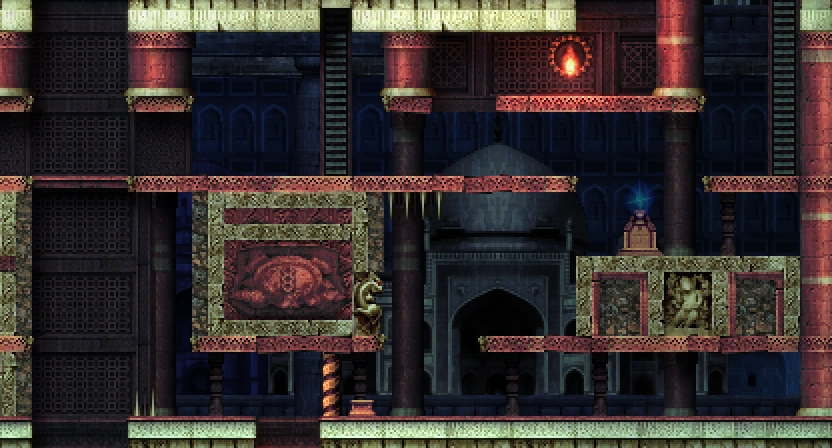
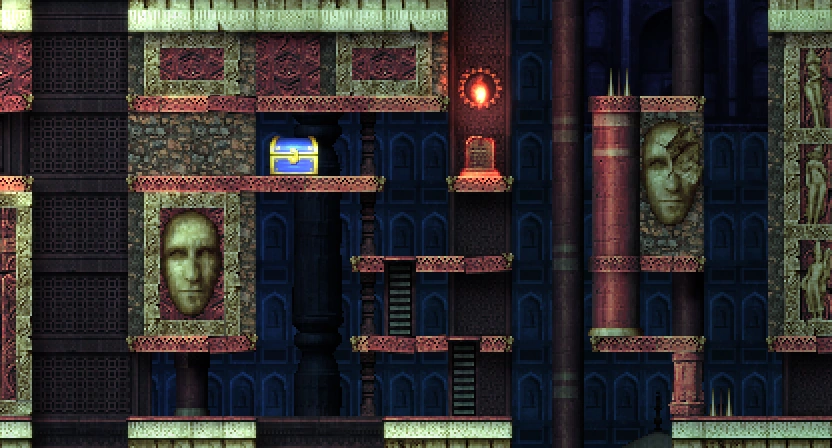
Kosugi Research Papers[ | ]
- Location: Earth Altar (D-1)
- Location: Pit of Time (C-5)
- Location: Anterior Chamber (A-6)
- Location: Vampire's Corridor (E-3), after initiating The End (pass through the fake wall on the right side of (D-3)).
Earth Spear[ | ]
- Location: Earth Altar (C-1)
- Push the block onto the block switch using the Glove. Climb the ladder it creates and step on the pressure plate to reveal the Earth Spear.
Gale Fibula[ | ]
- Location: Wind Altar (B-2)
- Drop an Earth Spear on the hole switch from the top-right of the room, then push the block onto the block switch. The chest can be reached by navigating a small maze behind the fake wall in the upper left area; jump through the carving on the right edge, and jump over the hidden chute in the middle to avoid falling through.
Chakram[ | ]
- Location: Corona Arsenal (I-6)
- Break the Life Seal to reveal a hole switch in the inaccessible floor. Run through and quickly hit the switch using an Earth Spear while avoiding the crushers, opening up the wall on the right. At the top of the room, step on the upper pressure plate while timing a Rolling Shuriken to hit the lower pressure plate - if both plates depress simultaneously, the weapon reliquary will unlock.
Sacred Orb[ | ]
- Location: Sealed Aqueduct (F-6)
- Break the Life Seal to open the chest.
Totem Pole[ | ]
- Location: Corridor of Wind (D-2)
- From (E-2), jump into the fake wall just above the lower left path to reach the Life Seal at (D-2). Break it, then make your way back around to the upper-right side of (D-2). Use the Gale Fibula to dash through the crushers, being sure to jump over the gap. Place a weight on the dais to unlock the chest below.
Ice Cloak[ | ]
- Location: Pit of Light (G-5)
- Break the wall to the left of the chest to reveal a Life Seal. Break it to unlock the chest.
Lamp of Time[ | ]
- Location: Time Altar (B-4)
- Enter from (B-5) and break the Life Seal to reveal the dais below. To reach the area with the chest, you must first use the Cog of Antiquity to lower the lift in (C-3). Cross this new path from (D-4), then place a weight on the dais to unlock the chest.
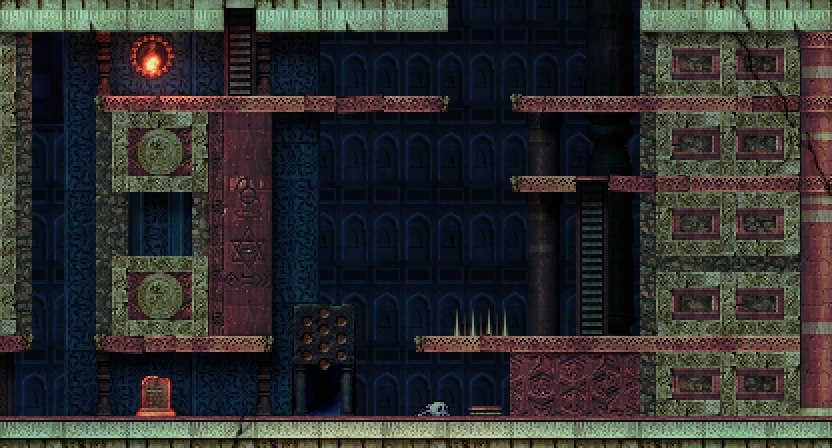
Dinosaur Figure[ | ]
- Location: Moon Altar (F-7)
Ancient Battery[ | ]
- Location: Buried Fortress (H-7)
- Unlock the Buried Fortress, then drop down to (H-7) and break the Life Seal to unlock the chest. You can reach the chest by jumping through the fake wall in the upper-right corner of (G-7).
Chain Whip[ | ]
- Location: Room of the Fallen (C-6)
- Both blocks must be placed on their switches without leaving the room. Push the lower of the two blocks from the right side on to the lower platform. Crouch-walk between the block and the right platform and push it onto the left block switch. Next, pass through the lava to reach the upper platform and proceed down the ladder. Push the remaining block onto the switch on the right to open the reliquary. You can now leave the room without resetting the puzzle, so drop down to (C-7) and climb back up the ladder to get to the Chain Whip.
- Note: To pass safely through the lava, it is recommended to use the Ice Cloak or temporary immunity from the hot spring in Icefire Treetop (E-2). However, it is possible to survive with enough life if you are quick enough.
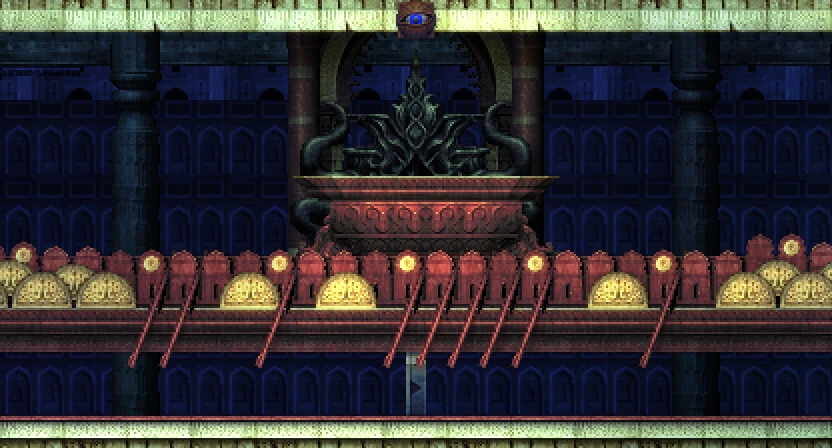
Mjolnir[ | ]
- Location: Jormungand's Room (E-5)
- Defeat Jormungand and open the chest.
Máni Mantra[ | ]
- Location: Moon Altar (E-7)
- Take the left ladder from Icefire Treetop (F-1) to enter (G-7). Break the Life Seal to open the passage, then proceed left. Break the far left wall beneath the chest in (F-7) to reach (E-7). Incant the Sól Mantra in front of the stone tablet to make the Máni Mantra mural appear.
Puzzles[ | ]
C-2 Shortcut to D-2[ | ]
- Location: Corridor of Wind (D-2)
- Place a weight on the dais at the bottom-left of (D-2). It will unlock the path to (C-2), creating a shortcut.
F-7 Shortcut to F-8[ | ]
- Location: Moon Altar (F-7)
- Place a weight on the dais at the bottom of the water using the Anchor.
Get to F-6[ | ]
Flood the room by pressing the floor switch at (F-1), entering (F-1) from the bottom-right.
B-6 Shortcut[ | ]
- Location: (B-6)
- Break the Birth Seal at (B-6).
Shortcut to Takamagahara Shrine Soul Door[ | ]
- Location: (B-7)
Life Seal Shortcut[ | ]
- Location: (G-7)
- Break the Life Seal after taking the left ladder from Icefire Treetop (F-1).
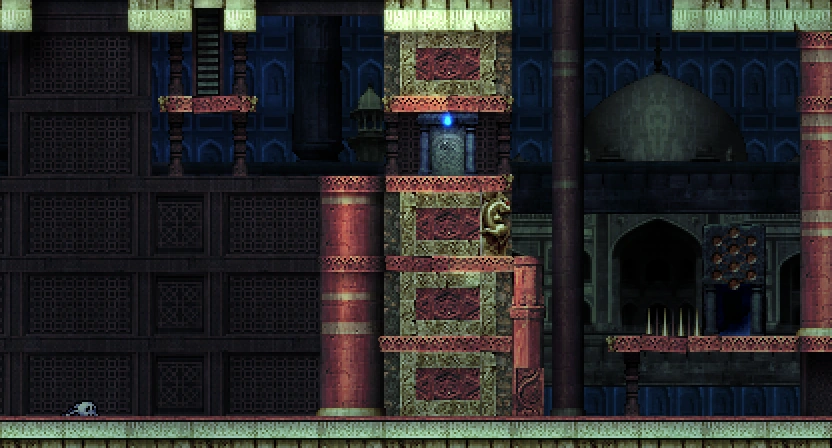
Activating the Lift[ | ]
- Location: (C-3)
- Use the Cog of Antiquity in the socket to permanently lower the lift from (C-3) to (C-5). Doing this creates a new path across the previously impassable shaft to (B-4) where the Lamp of Time can be found.
The Buried Fortress[ | ]
- Location: (H-6)
- Incant the following mantras simultaneously to open a path in the lower-right corner of the room:
- Note: Be careful to avoid the spiraling light in the room below. Equipping the Clay Doll Suit before dropping down is recommended.
- This sequence is found on a tablet in Eternal Prison - Gloom
Access to H-2[ | ]
- Location: (G-2)
- Step on the pressure plate right of the centre ladder to make a platform appear level with the destroyable wall leading to H-2. Climb the right-most ladder from G-1 or G-3 and attack the wall level with the created platform. Climb to the ledge above, fall to the created platform and jump right to H-2.
Speaking to Alviss[ | ]
- Location: (G-7)
- Use the Lamp of Time in front of Alviss' door to stop the light entering his room. If you chant a Mantra before entering his room, he will tell you its second meaning.
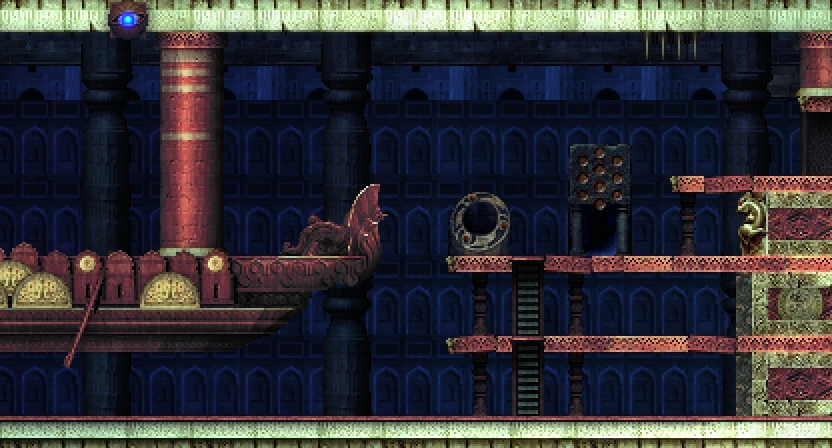
Getting to the Spiral Boat[ | ]
- Location: (D-4)
- Break the wall to the right while falling down the waterfall at (D-5). Then, break the Birth Seal and climb up the ladder that appears. You can break the Birth Seal in the room above for a shortcut, too. Then, go to Hall of Malice (D-3) and break the Death Seal hidden on the center wall (reveal it using Earth Spears from the ladder, then fall down the shaft to it from (D-2)). Requires 9 Guardians defeated.
Opening the Spiral Boat Door[ | ]
- Location: (E-4)
- After connecting all of the Corridor of Blood entrances together with the Beherit containing all 6 Dissonances, use the Djed Pillar to chant Mother (Móðir) and Child (Barn) Mantras in front of the glowing red door. Also, you cannot enter until you have the Secret Treasure of Life in your inventory.
Traps[ | ]
Fake Ankh Jewel[ | ]
- Location: (A-6)
- Approaching the Ankh Jewel in this room will result in it shooting a high-damaging laser at you.
Crushers[ | ]
- Location: Vampire's Corridor (E-3)
- To clear the hallway, you need to run across using Gale Fibula while jumping to avoid the first set of pressure plates. Simply running across without jumping will result in instant death.
NPCs[ | ]
Kubera[ | ]
- Location: Wind Altar (B-2)
Mulbruk[ | ]
- Location: Pit of the Dead (G-3)
Soma[ | ]
- Location: Corridor of Wind (F-2)
Yama[ | ]
- Location: Sealed Aqueduct (E-6)
Alviss[ | ]
- Location: Buried Fortress (G-7)
Shops[ | ]
Haja[ | ]
- Location: Pit of Light (G-4)
- Use an Earth Spear to hit the hole switch and open the wall blocking the entrance.
- Pay 30G to access the hot spring. This spring will overheal you, increasing your life 32 beyond the current maximum. Once you have obtained all Sacred Orbs, Haja will let you enter the hot spring for free, but you will no longer be able to overheal.
Hiro Roderick[ | ]
- Location: Pit of Light (G-6)
| Weight x5 | 10 | |
| Flare Gun x10 | 40 | |
| Harp | 1000 |
Peibalusa[ | ]
- Location: Sea Ring (E-1)
| Weight x5 | 10 | |
| Earth Spear x10 | 20 | |

|
Race Scanner | 80 |
Room Guards[ | ]
Cetus[ | ]
- Location: Sea Ring (E-1, F-1)
Svipdagr[ | ]
- Location: Corona Arsenal (H-6)
Ratatoskr[ | ]
- Location: Pit of Time (C-3)
Guardian[ | ]
Jormungand[ | ]
- Location: Jormungand's Room (E-5)
Glossary ROMs[ | ]
Cetus[ | ]
- Location: (G-1)
- Make your way around the map to step on the floor switch at the bottom-right of (F-1), then swim to it.
Jormungand[ | ]
- Location: Buried Fortress (H-7)
- Use the Clay Doll Outfit to pass through the spiraling light.
Svipdagr[ | ]
- Location: Pit to Heaven (B-6)
- Hidden behind a breakable wall near the middle of the rightmost ladder. Requires the Feather to reach.
Tablets[ | ]


Map[ | ]
| A | B | C | D | E | F | G | H | I | |
|---|---|---|---|---|---|---|---|---|---|
| 1 | 
|
|
|
|
| ||||
| 2 | 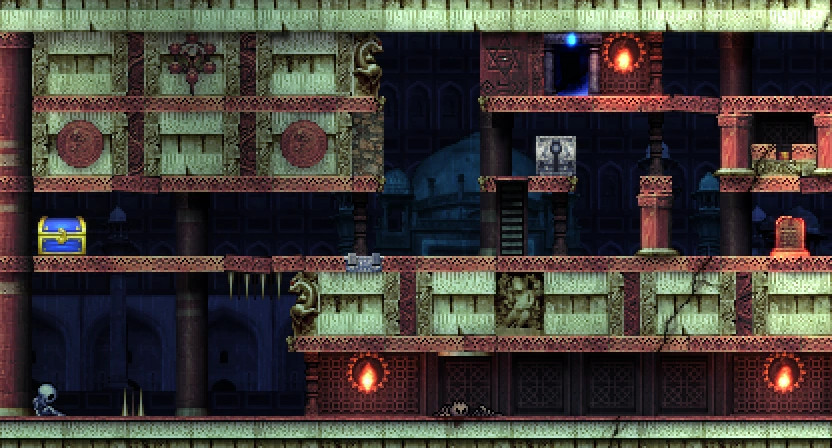
|
|

|

|
|

|
| ||
| 3 | 
|

|

|

|
| ||||
| 4 | 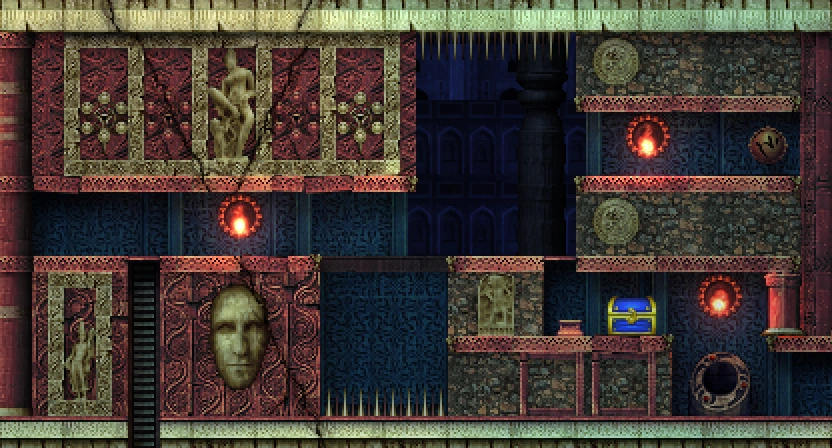
|
|

|
|
|
|
| ||
| 5 | 
|
|

|
|

|
|
| ||
| 6 | 
|
|
|

|
|
|
|

|

|
| 7 | 
|
|
|
|
|
|
|
Field Navigation
Village of Departure • Roots of Yggdrasil • Annwfn • Immortal Battlefield • Icefire Treetop • Divine Fortress • Shrine of the Frost Giants • Gate of the Dead • Takamagahara Shrine • Heaven's Labyrinth