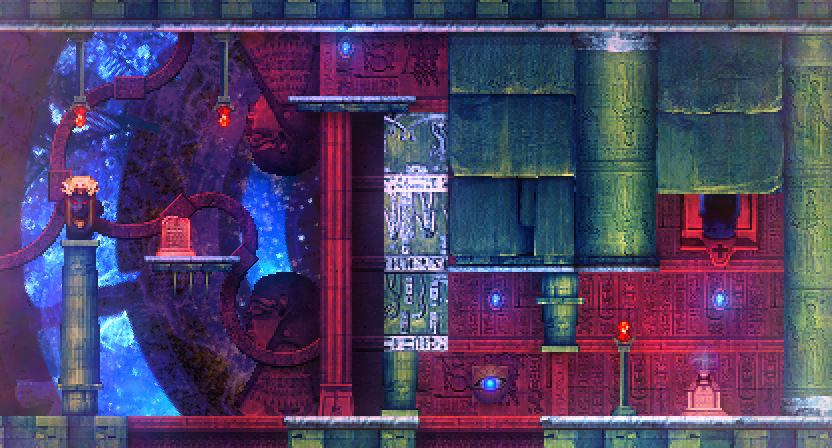
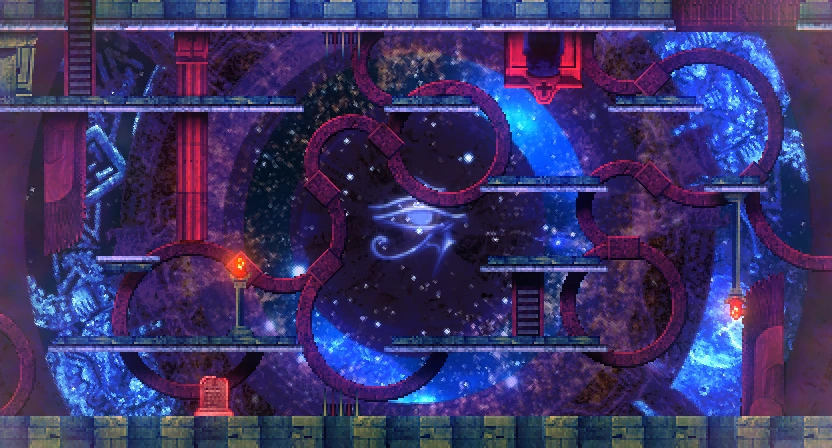
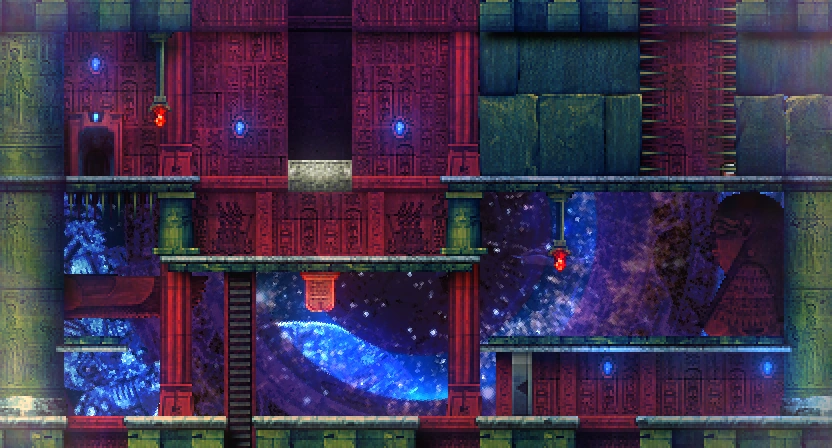
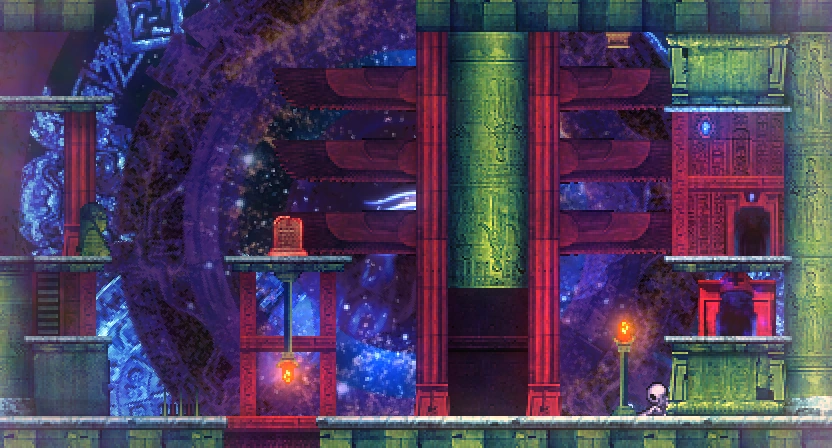
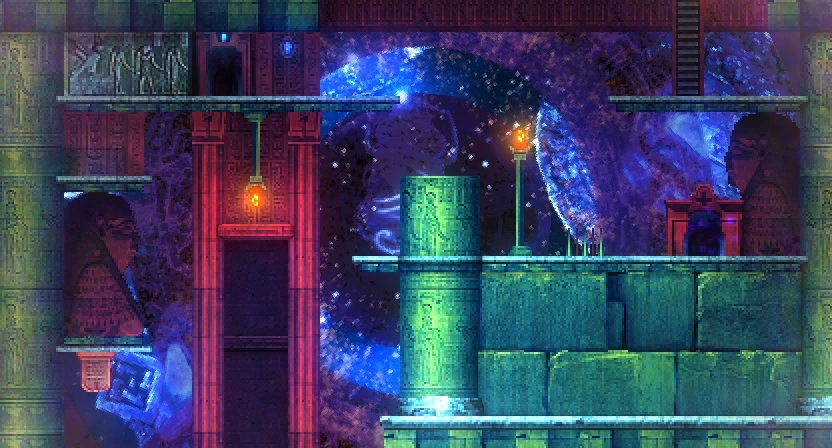
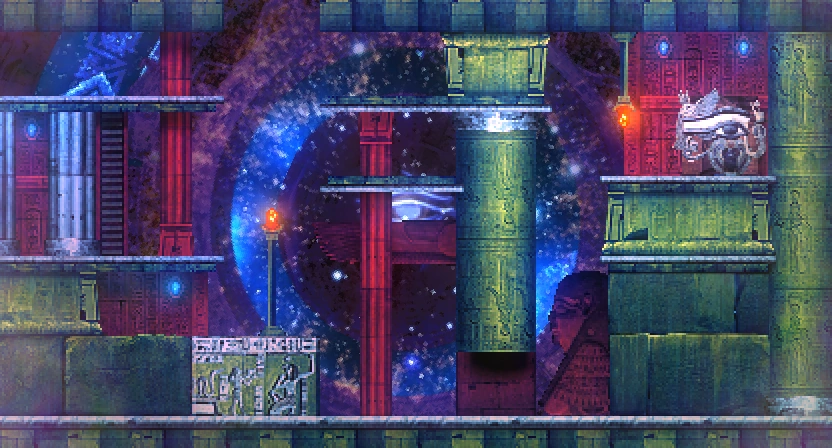
Gate of the Dead (Japanese: 死者の門, "Shisha no Mon" / lit. "Gate of the Dead") The area is filled with "doors" that change the direction of gravity when entered, and has a distinct Egyptian motif. The Ennead, one of the races of the 5th Children, are sealed here.
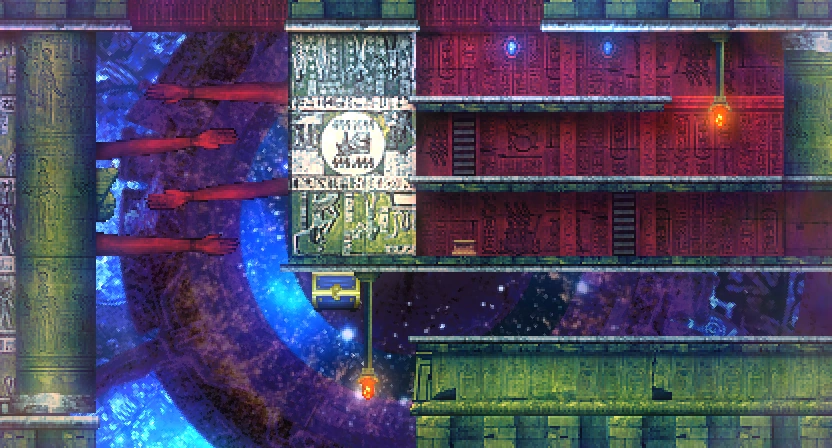
Place a weight on the dais while it is upside-down, then reach the chest while it is rightside-up and it will open for you. Be very careful not to get crushed by the pots in this room when moving from the left/right edges into this room.
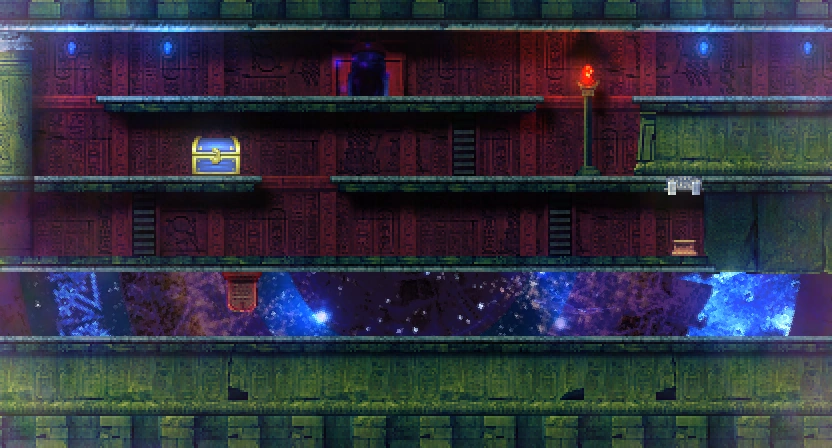
Break the wall on the bottom-left of the room (when the gravity door is on the rightside-up); Opens with a Skeleton Key. Contains Little Demon (Baphomet) outfit.
This block puzzle is missing a block. To get it to appear, you must talk to the Dwarf Twins Brokkr and Eitri in Divine Fortress (B-3). Push the block onto the switch to unlock the chest.
They won't do anything unless you activate the part to get the Frey's Ship
Flip the map upside-down, then make your way back to (F-3) and put a weight on the dais in the room. Flip the map right-side up and warp back to the Grail point. If you've already unlocked the (F-4) shortcut, then simply climb your way up to (F-3) from (F-4). Otherwise, enter (F-3) from the top-left corner, using the Gale Fibula to run and jump to clear the gap and get past the crushing traps. Climb the ladders to get to the chest.
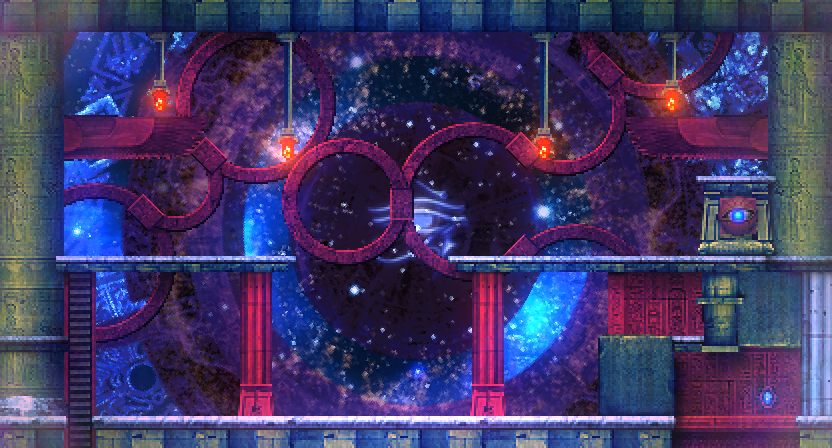
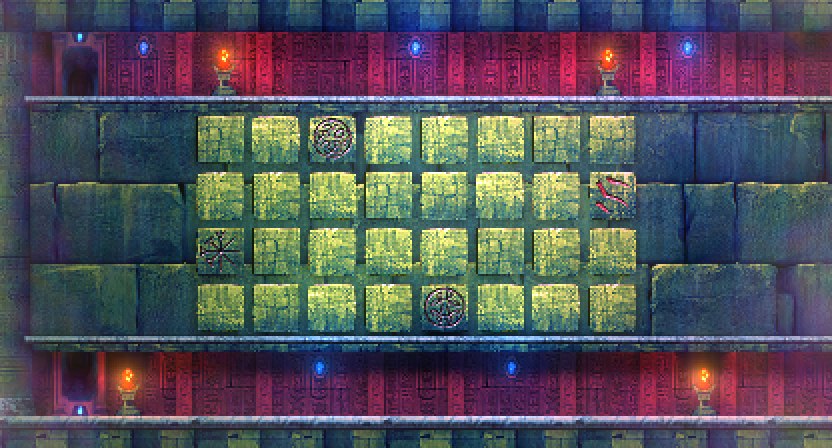
Place a weight on the 4th dais from the left. Then, either stand in place (don't get knocked back!) or move all the way left or right before the lasers come to kill you. Flip the map after the jingle plays and then open the chest in front of you.
Based on what the skeleton says, I think you have only one try to get this or you permanently miss it the entire game? Someone, please confirm this. You can activate any dais; surviving is the key part here :)
Puzzles[ | ]
Hidden Birth Seal[ | ]
Location: (D-2)
While the Grail Tablet is upside-down, whip the bottom-right wall on the ground floor to reveal a Birth Seal. Breaking it will reveal a dais at the top of the room.
Slight Weights[ | ]
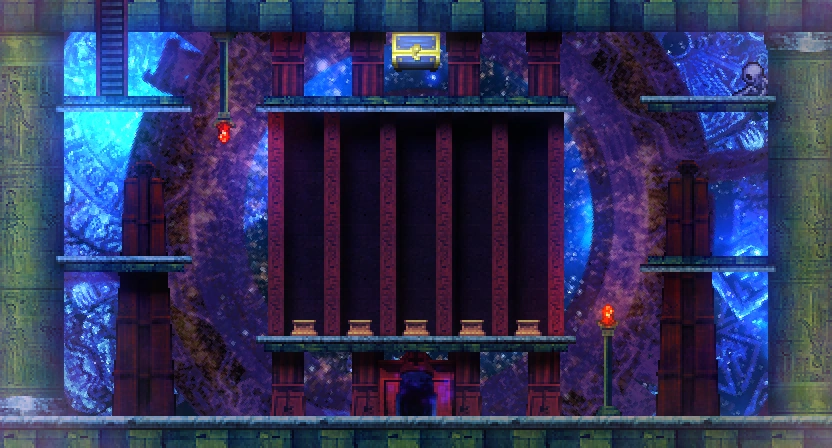
There are 4 daises which must be activated.
Place weights on dais all over the map (specifics would be nice... I wasn't logging, sorry) and this white dais should appear at (D-5).
At (D-2), while the Grail Tablet is upside-down, whip the bottom-right wall and then break the Life Seal.
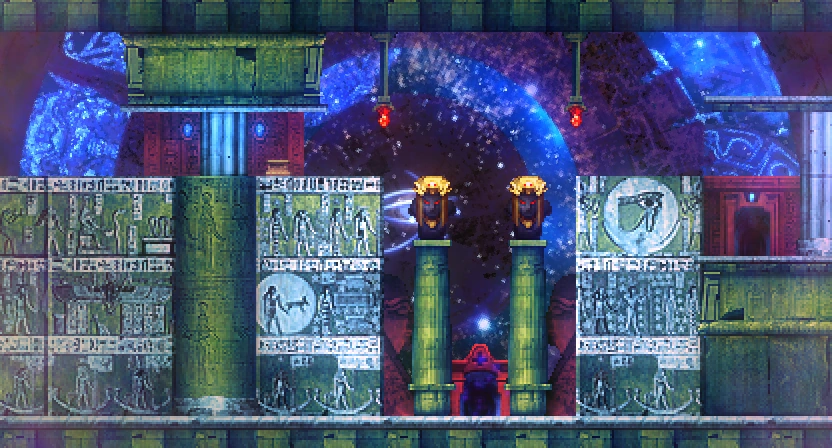
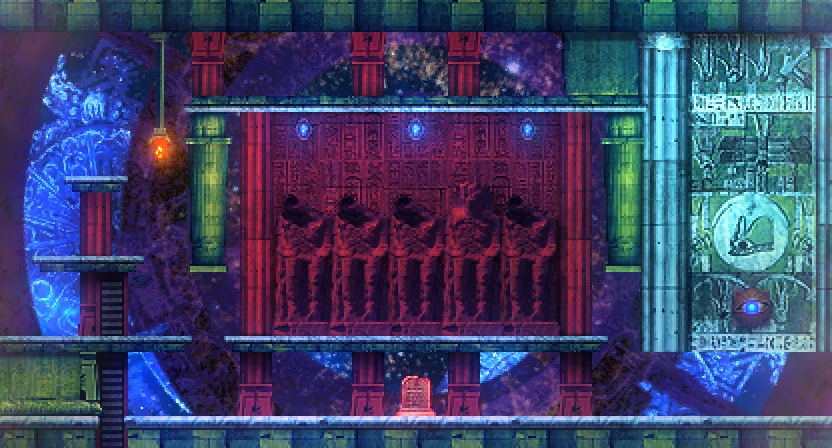
Chant Sól in front of 5 statues in the background at (C-6).
All four of them will zap you if you place a weight on them. You are supposed to use the Pepper to weigh them down. Afterward, the Yggdrasil Gate at (F-5) will open.
F-4 Shortcut[ | ]
Location: (F-4)
At the top of the left ladder, it is possible to whip the upper-right ground to break it open and pass through.
E-5 Shortcut[ | ]
Location: (E-5)
Coming from F-5, place a weight on the dais while the room is rightside-up to remove the pillar blocking a shortcut to D-5.
Reaching the Yggdrasil Gate[ | ]
Location: (F-5)
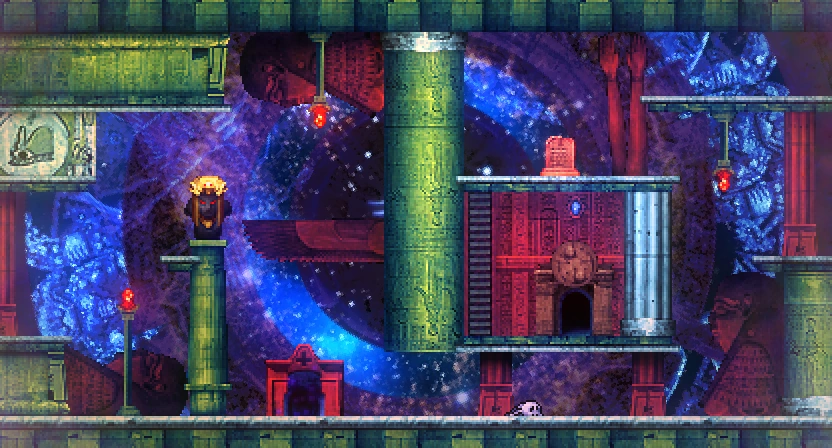
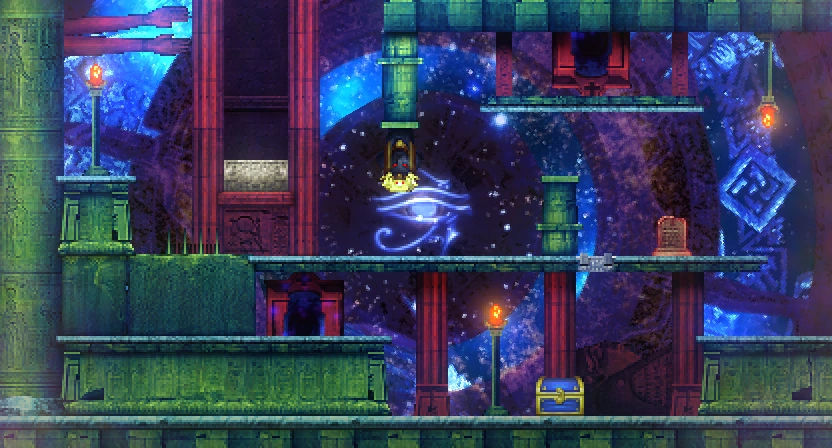
Jump on top of the two pots and use them to jump onto the tallest pillar in the room. Jump off to the right and hug the wall: You will land on a small piece of land, where you can whip to reveal a gravity-flipping door. Then, you can make the jump to the eye statue, the Yggdrasil Gate.
This is the Gate of the Dead.
The land where the pyramid that leads to the sky is sealed.
E-35th Child: Ennead
A white pedestal lies in a room of five statues.
Speak the words that represent Ra.
F-35th Child: Ennead
The Amarna acquired a colossal weapon, Aten.
From its body, modeled after the sun, sprout many arms, representing the sun.
New life is created from these arms.
B-45th Child: Ennead
You must be in the right space or the task at hand will not work to your favor.
C-45th Child: Ennead
The Gate of the Dead was created to seal the Amarna.
It leverages mystic Ennead means to warp space.
It connects the warped space of the Red Gate.
D-45th Child: Ennead
The Dark Lord's Mausoleum, the branch in which the Amarna reside.
The gate that leads there is sealed by four white pedestals.
The pedestals levy judgement against those who dare to place things on them.
They will only respond to a weight so slight as to go unnoticed.
F-45th Child: Ennead
There is a fairy who bestows prosperity.
They who bring the weapon[Error] Fairy Alruna will verily obtain prosperity.
B-55th Child: Ennead
Destroy the false tablet.
D-53rd Child: Olympian
Glasya-Labolas' chicanery is magical.
He will use it to pursue his enemies, even in death.
B-65th Child: Ennead
The treasure created by dwarven blacksmiths.
The mechanism to it is hidden by the dwarves.